
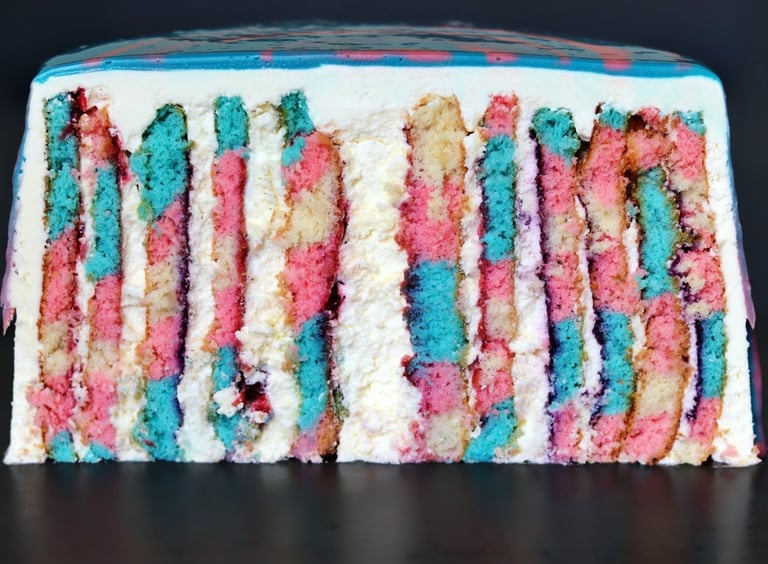
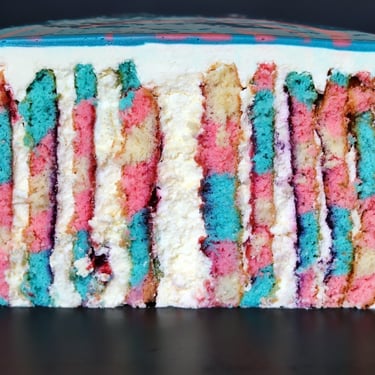
TRANS PRIDE Vertical Swiss Roll Cake
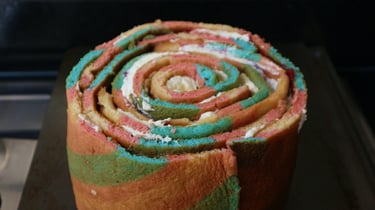
I’m writing this towards the end of Pride Month, just a week away from Pride in London and UK Black Pride, with Trans and Bi Pride events later this year. The LGBTQ+ community has faced increasing hate crimes, bigotry, and violence, and even protests over education. We’re told we don’t need Pride anymore because we have equal marriage, but we still need equality for all. Despite the challenges, our community has always stood united, fighting for each other through the toughest times. That’s why it’s so important to stand together today. This cake is my way of sparking conversation, finding allies, and gaining support. Baking is my strength, and I hope this cake, with its wow factor when sliced, will get people talking. It’s also a better alternative to gender reveal cakes, which are unnecessary. Why not make a cake featuring the colours of the Trans Pride flag instead? You can easily adapt the colours to represent the Bi Pride flag (pink, purple, and blue) or any other Pride flag. As for the jams, use whatever you like—just make sure it’s sugar-free.
Serves at least 12
Hands-on Time 2 hours (plus cooling)
Chilling Time 2 hours
Baking Time 8-10 minutes
Ingredients
240g caster sugar
8 medium eggs
230g plain flour
Food colouring (liquid gel recommended): Pink & Blue
12 tbsp sugar-free fruit jam/spread
600ml whipping cream
200g white chocolate
Equipment
3 baking sheets (or roasting trays, approx. 25cm x 35cm)
Baking parchment
Large mixing bowl
Electric whisk
2 bowls
1/8 teaspoon measure
Spatula
Sieve
3 reusable piping bags
3 clean tea towels
Sharp knife
Palette knife
Dough scraper
Microwaveable bowl
Microwave
Plate or cake board
Method
1. Prepare the Sponge
Preheat the oven to 200°C/180°C (fan)/400°F/Gas Mark 6.
Line the baking sheets with parchment.
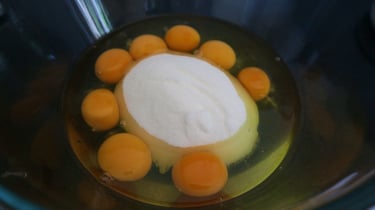
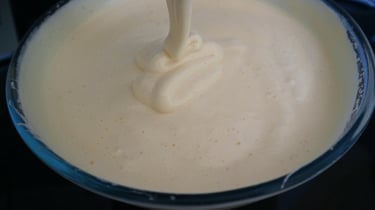
In a large mixing bowl, whisk the sugar and eggs on medium-high speed for 10 minutes until thick and meringue-like.
2. Divide and Colour the Batter
Divide the mixture into 3 portions: two larger portions (approx. 255g each) and one smaller portion.
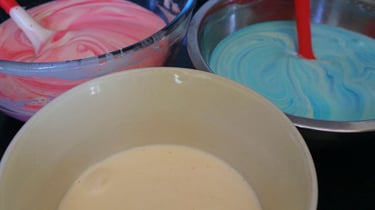
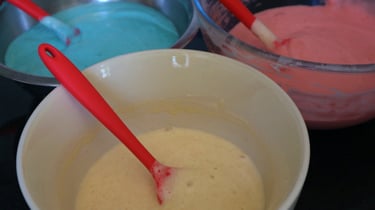
Add 1/8 teaspoon of pink food colouring to one larger portion and 1/8 teaspoon of blue to the other. Gently fold to create a marbled effect.
Sieve 90g of flour over each larger portion and 50g over the smaller portion. Fold gently until no flour specks remain.
3. Pipe and Bake
Transfer the batters into piping bags.
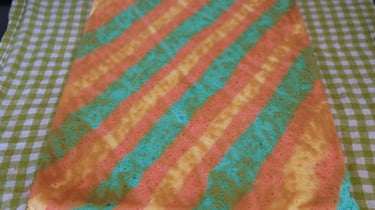
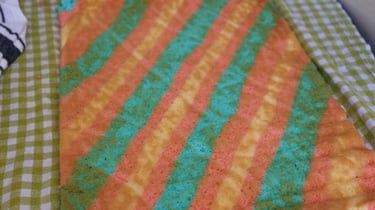
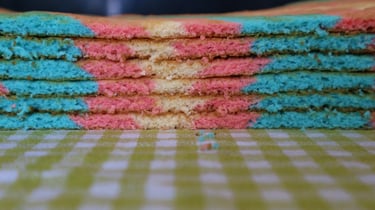
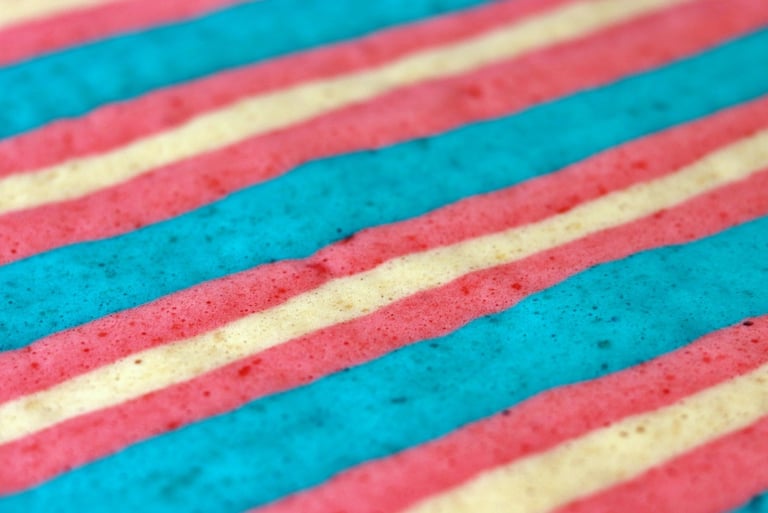
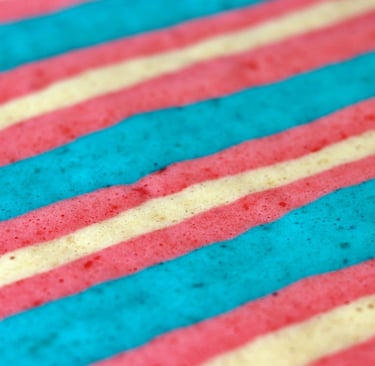
Pipe a line of plain batter from one corner. Sandwich with a line of pink either side followed by blue. The blue lines should be double the width of the plain & pink. Pipe a line of pink followed by plain. Do this with all of your trays. Repeat the patter until it’s all used up.
Bake one or two trays at a time on the middle shelf for 8-10 minutes until light golden.
4. Roll and Cool
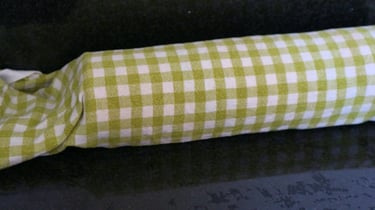
Dampen tea towels and wring out excess water.
Flip each baked sponge onto a damp tea towel, parchment-side up. Remove the parchment and roll the sponge widthwise in the towel.
Repeat with remaining sponges and let them cool completely.
5. Assemble the Cake
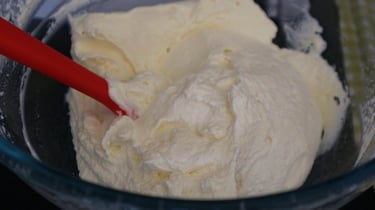
Whip 500ml of cream until stiff.
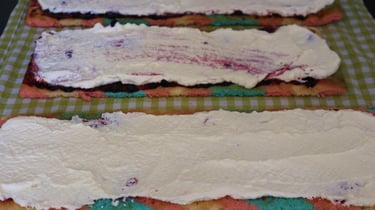
Unroll the sponges, trim the edges, and halve them lengthwise to create 6 strips.
Spread 2 tablespoons of jam and a portion of whipped cream on each strip.
Roll one strip, place it on another, and continue rolling until all strips are used. Shape the cake into a round and place on a plate or cake board.
6. Chill and Frost
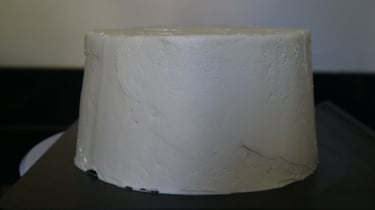
Refrigerate the cake for at least 1 hour to firm up.
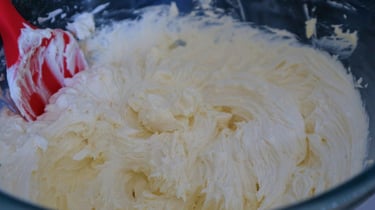
Spread a thin layer of buttercream over the cake to smooth the surface. Chill for another hour.
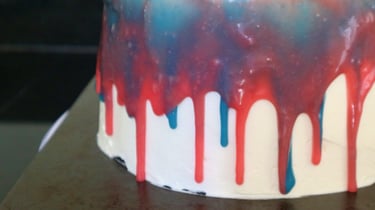
7. Make the White Chocolate Drip
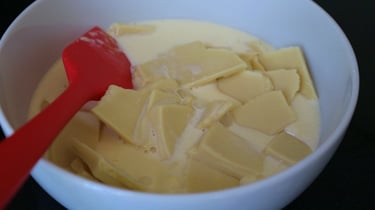
Melt the white chocolate in a microwaveable bowl.
Heat 100ml of cream in the microwave until bubbling, then pour over the chocolate. Stir until smooth.
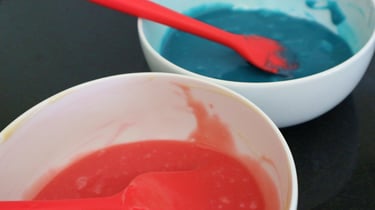
Divide the ganache into two bowls. Colour one with pink and the other with blue.
Pipe the ganache around the edges of the cake for drips, then spread the remaining ganache over the top.
8. Final Chill and Serve
Refrigerate the cake until the ganache sets.
Tip
For a neater finish, use a turntable when applying the buttercream and ganache. This will help create smooth, even layers.
Enjoy!


© 2025. All rights reserved.