
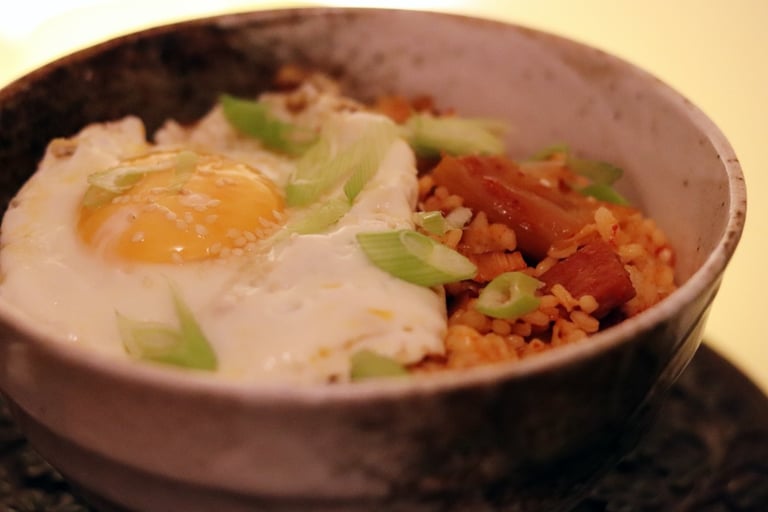
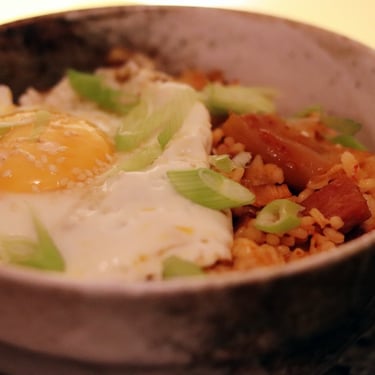
Kimchi Fried Rice
Long day? Need comfort food that’s quick and fuss-free? This recipe is for you. One hectic week, I came home craving something comforting. I rummaged through my fridge and found leftover bacon, spring onions, and a jar of kimchi. I boiled some rice and threw together a bowl of kimchi fried rice. Utter bliss. This recipe is simple and adaptable. I think it’s best with Spam (yes, Spam; it’s nostalgic and delicious), but bacon works too. If you’re short on time, use microwaveable rice. The only non-negotiable? A fried egg on top. Cook it all in one pan to minimise washing up. This portion is perfect for one greedy person (me), but it could easily serve two, especially with a side of greens. If you’re feeling adventurous, try making your own kimchi; I’ve got a recipe for that too!
Serves 2 (a side may be needed) or 1 if you’re famished
Hands-on Time 10 minutes
Cooking Time 6 minutes
Ingredients
100g spam
2–3 spring onions
1/2 tbsp olive oil
1 garlic clove
1/2 tbsp dark soy sauce
250g cooked rice
1–2 medium eggs
Equipment
Chopping board
Knife
Frying pan
Spatula
Micro-grater
Method
1. Prepare the Ingredients
Dice the spam into small cubes. Slice the spring onions into rounds.
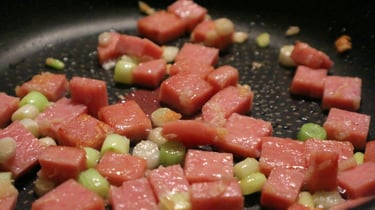
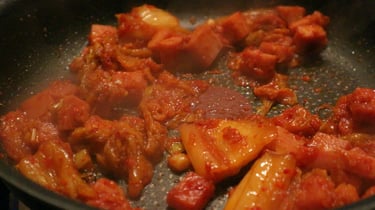
2. Cook the Spam and Vegetables
Heat olive oil in a frying pan over medium heat. Add the spam and spring onions.
Grate the garlic into the pan. Stir occasionally until golden (about 2 minutes).
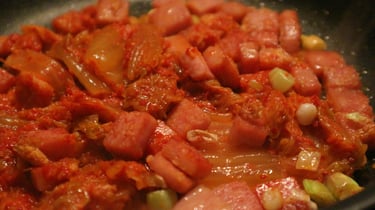
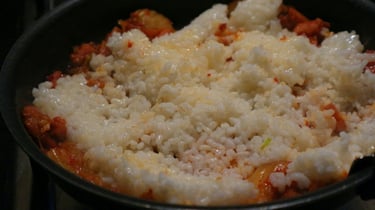
3. Add Kimchi and Rice
Add the kimchi (without the juice) and stir for another 2 minutes.
Stir in the soy sauce, then add the cooked rice. Break up the rice and stir-fry for 2 minutes, allowing some crispy bits to form.
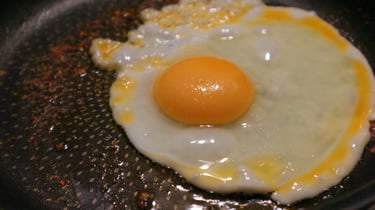
4. Fry the Egg
Transfer the rice to a bowl. Add a little more oil to the pan if needed and fry the egg(s) until the whites are set but the yolk is still soft.
5. Serve
Top the rice with the fried egg(s) and mix together before eating.
Enjoy!
Related Recipes:
© 2025. All rights reserved.